EVA Lite - Elegant WordPress Theme for Creating Stories
- Getting Started
- Welcome
- Features Brief
- Table of Contents
- Installation
- Menus
- Homepage
- Widgets
- Posts
- Pages
- Post Thumbnails
- Theme Options
Getting Started
Welcome
Thank you for purchasing our theme!
We at Quill Themes are confident that you'll be delighted with Eva's vast feature options and clean design.
Please reference this file for any questions or issues you may be experiencing-- it's likely you'll find the answer to your query here. For any questions that are beyond the scope of this help file, please feel more than free to open a new ticket at https://quillthemes.freshdesk.com/
Interested in keeping up to date with Quill Themes' future projects and releases? Follow us on Facebook and Twitter !
Thanks so much!
Features
- 1. Responsive Design
- 2. Full Slider - Only in Premium
- 3. Classic Slider - Only in Premium
- 4. 4 Different Blog Layouts - Only in Premium
- 5. Classic Blog Layout
- 6. Lifestyle Blog Layout - Only in Premium
- 7. Full Width Instagram feed in footer - Only in Premium
- 8. Custom About Me Widget - Only in Premium
- 9. Custom Social Widget - Only in Premium
- 10. Custom Latest Post - Only in Premium
- 11. Custom Instagram option - Only in Premium
- 12. Easy customization powered by WordPress Customizer
- 13. Hide/Show most elements - Only in Premium
- 14. Sticky Navigation - Only in Premium
- 15. Full Width Page Template
- 16. Mailchimp Integration - Only in Premium
- 17. Works with WP 4+
- 18. WordPress 3.0 drop-down support
Eva's Options panel makes the whole configuration process incredible easy!
Installation
The main steps are:
- Navigate to Dashboard->Appearance->Themes and click "Add New" button at the top of the page and go for the "Upload" option.
- For the file upload, pick the "eva.zip" archive from the theme package downloaded from ThemeForest and click "Install Now".
- Install and activate the required or recommended plugins.
- Import the Demo Data by going to Dashboard->Tools->Importer, click the "Worpress" link, than select the .xml file found in the "demo-content" folder from the theme package. Than click the "Upload file and import" button, and follow the screen instructions.


Menus
Eva supports two locations for custom WordPress menu - the Primary Menu and the Footer Menu:
- The Primary Menu supports unlimited levels of drop-downs.
- The Footer Menu supports unlimited levels of drop-ups.
For menu setup, navigate to the Dashboard->Appearance->Menus page. Enter a name for your menu and add links to the menu by using the options given on the left sidebar. You can manage your menus using the drag and drop functionality.
After setting up your menu, select the menu you just created from the theme locations drop-down box and hit the "Save" button.
Here you can read more about WordPress Menus: WordPress Menu User Guide

Homepage
Eva comes with different styles of homepage posts listing. If you would like to adjust the layout of the homepage, navigate to Dashboard->Theme Options->Homepage.
Also you can chose between 2 sliders style: Fullscreen or Carousel - Only in Premium

Widgets - Only in Premium
Eva comes with 3 different custom widgets.
- Eva Author:
Displays an "About Me" widget. You have to select which user to be displayed.
- Eva Social Icons:
Allows your readers to visit your social profiles.
- Eva Latests Posts:
This widget will display the latest posts with thumbnail images.

Posts
You can tailor the looks of your single post by going to Appearance->Customize->Single Post or Dashboard->Theme Options->Single Post and hide/show different elements.
Pages
You can chose from the page settings which page template to use. You can use one of these 2: Default Template and Contact Page.

Post Thumbnails
Eva uses the WordPress Post Thumbnails function. This way, you can upload one image and WordPress will automatically resize it to all of the various thumbnail sizes used throughout the theme. You should always use images with at least 940px width.
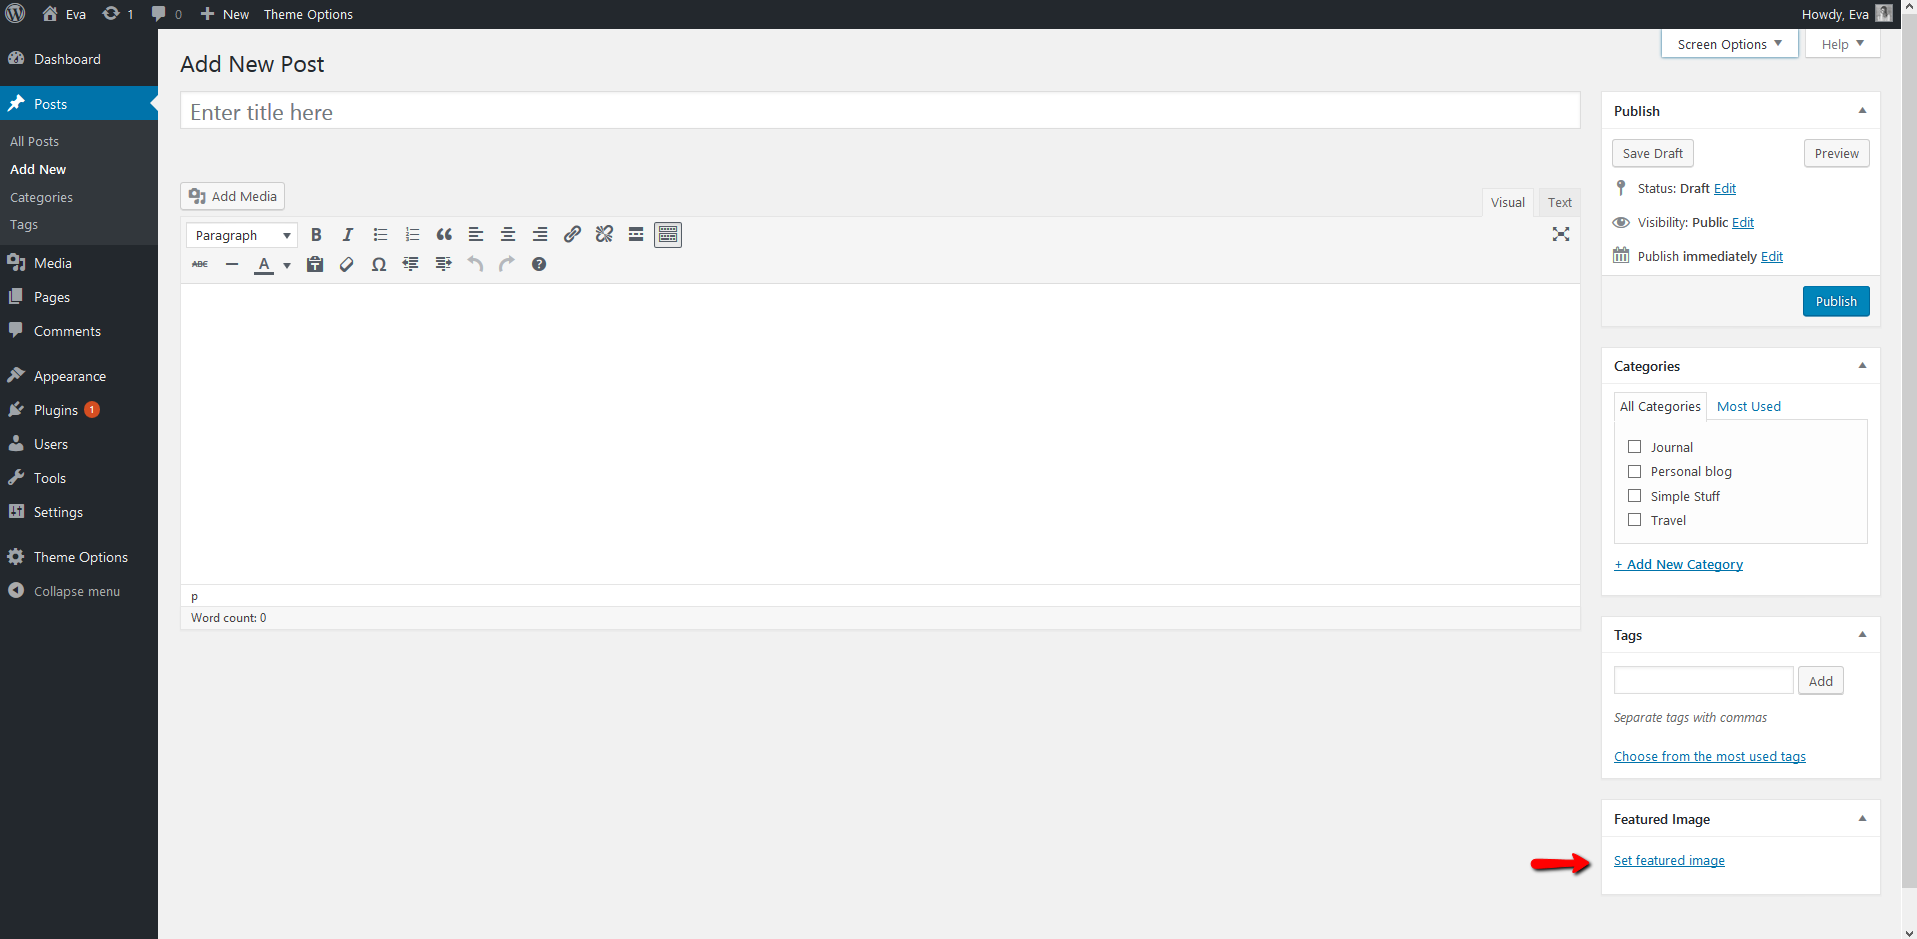
To set a post thumbnail for your post, go to Posts->Add New->Set Featured Image
The normal upload box will now appear. Upload your image and click "Use as featured image". Now simply close the box.
Theme Options
To use the theme options go to Dashboard->Theme Options.
Here you'll be able to hide/show elements, upload your logo, change layouts etc.
The theme options have the following sections:
-
General Settings
- Header options - Only in Premium
- Footer options - Only in Premium
- Homepage
- Single Post
- Mailchimp - Only in Premium
- Instagram - Only in Premium
- Import/Export
Each sections has lots of options so you can customize the theme to your needs!

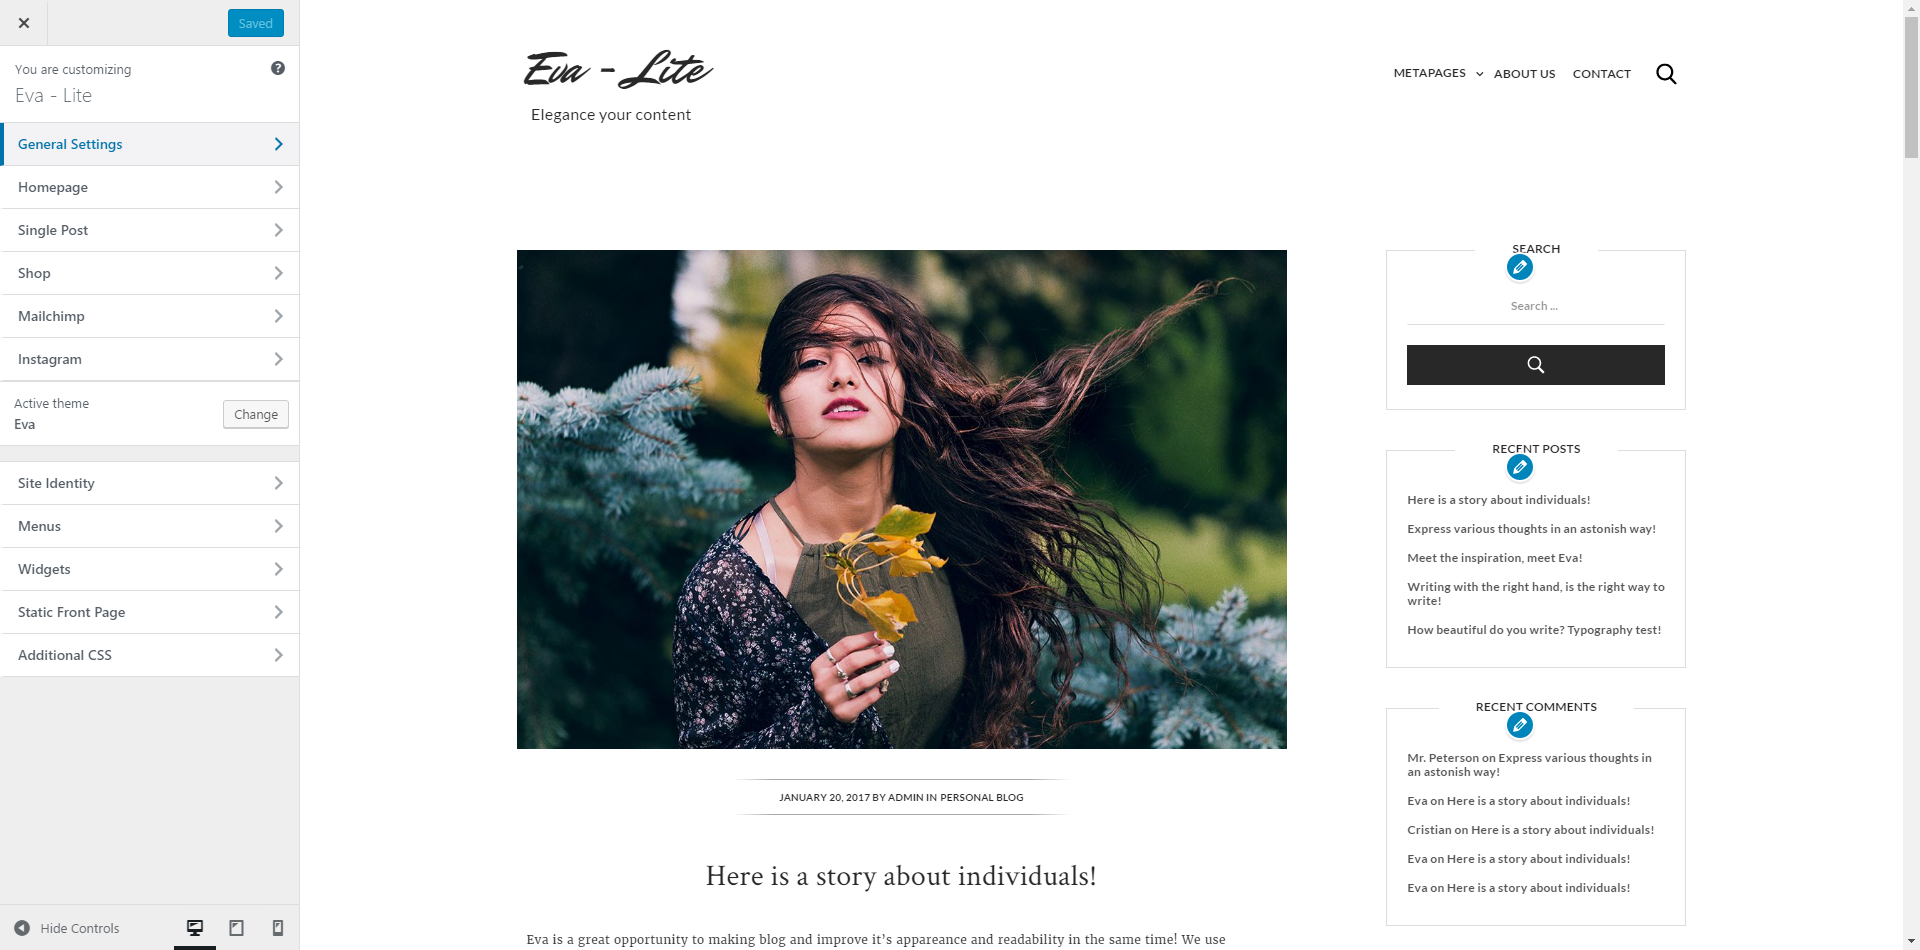
Customizer
To use the customizer go to Dashsboard->Appearance->Customize
Here you'll be able to hide/show elements and receive INSTANT feedback.
The customizer have the following sections:
-
General Settings
- Header options - Only in Premium
- Footer options - Only in Premium
- Homepage
- Single Post
- Mailchimp - Only in Premium
- Instagram - Only in Premium
- Import/Export
Each sections has lots of options so you can customize the theme to your needs!